This post was shown originally on Creating my way to Successs!
It is my first guest posting job and I loved it!
I hope you do too!
Here it is! I didn't change a thing.
|  | ||
 |  |

In recognition of Jill's passion for up-cycling and re-fashioning clothing, I am sharing a great wool purse tutorial. Enjoy!
 |
| Look for a thrift store sweater with a 100% wool label. |
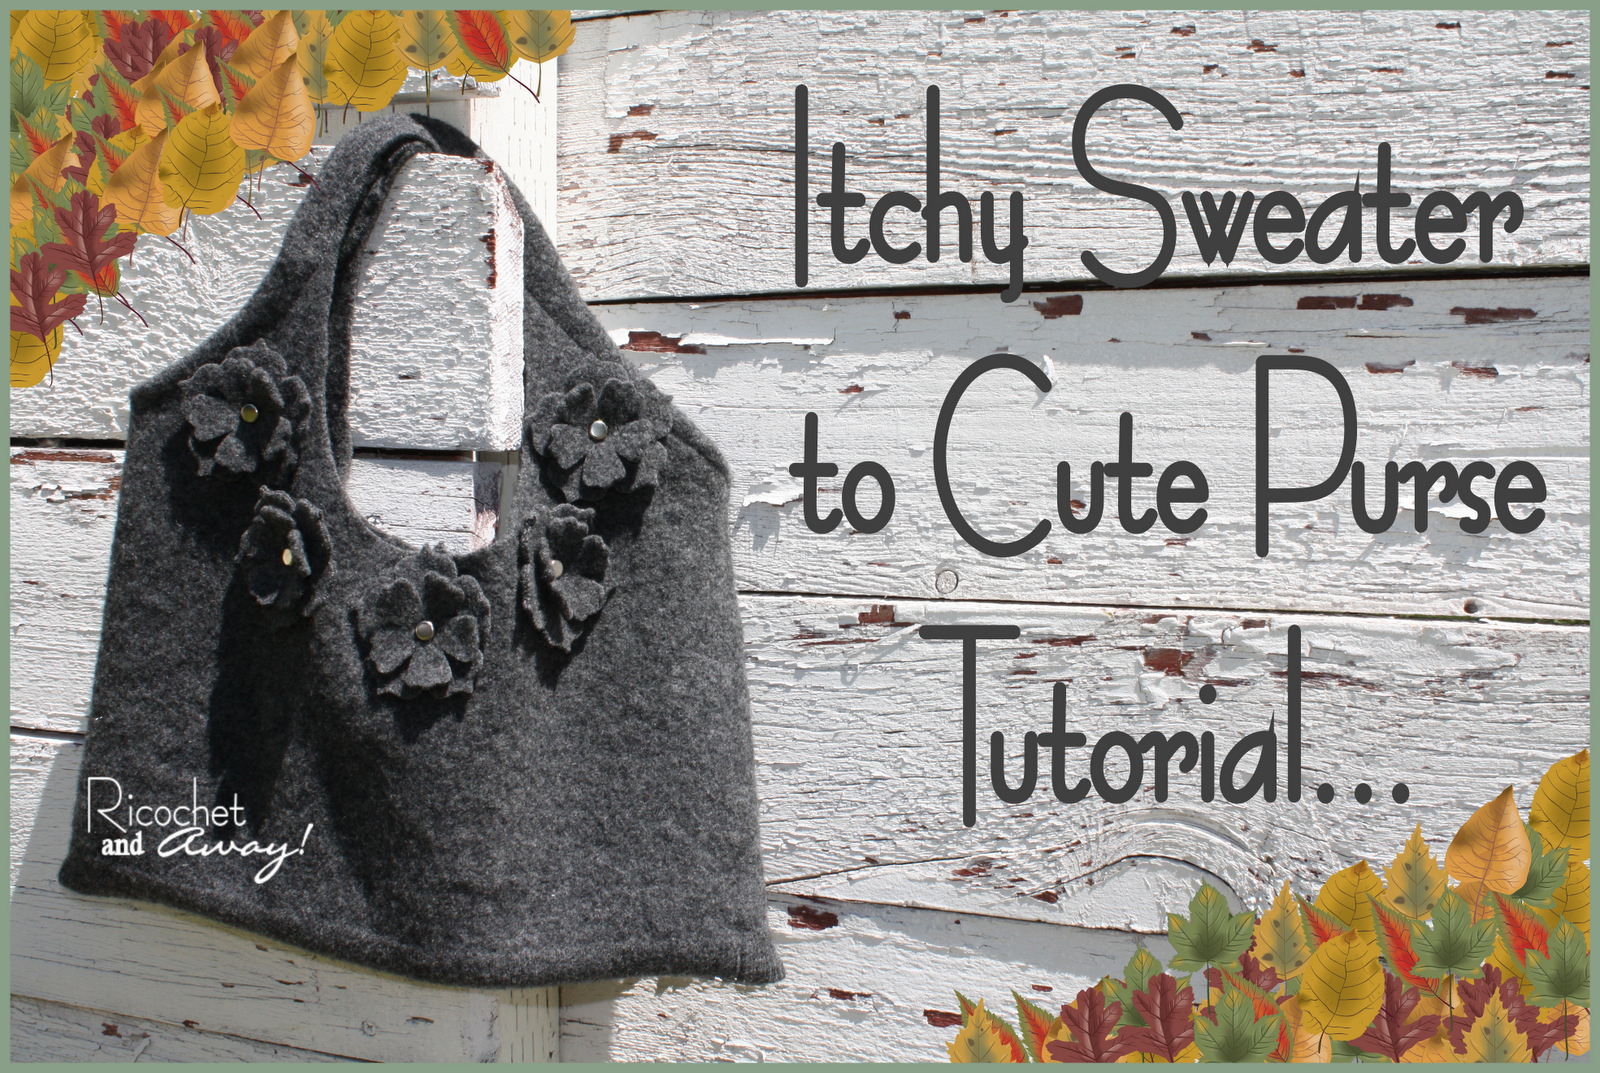
Hello sweater season! I created this chic little purse way back in July and have been sitting on it until now. Summer time is not the right time to unleash a gorgeous felted wool handbag, but you don't know how hard it was for me to wait! Because I like you so much, I even threw in a quickie bonus tutorial! Yes, my faithful and first time readers, you get 2 tutes in one today! Tell your friends! Pass it on! If you can wash clothes, use scissors, and sew a straight stitch on your machine----you can do this!
Supplies you'll need to get started:
an itchy 100% wool sweater
washing machine and detergent
dryer
dryer
scissors
chalk to mark sweater
sewing machine with coordinating thread
Optional: magnetic clasp
 |
| Attention: click on any image to view it full-sized First step is to "felt" your wool sweater. To do this, you must do what you are never supposed to do with a wool sweater: Wash it in your machine in hot water (with a little soap) and dry it in your dryer. (warning: be prepared for lots of lint!) The agitation of your washing machine is crucial. Please don't assume you can soak your sweater in hot water and cause felting. You could also throw in some jeans and set your machine to "extra-dirty-extra-long-cycle" to make sure the sweater is really agitated and rubbed around. That will cause the fibers in the wool to get all matted down. What once was knitted yarn will become a dense, rich felt, like magic!
How do you know your sweater is felted properly? Answer: you will be able to cut it and no unravelling or running will occur. You may have to wash and dry 2-5 times to achieve your desired degree of felting. I washed the sweater I used in this tute 3 times causing it shrink nearly 25% smaller. I could have washed it more times to create a denser, thicker felt to work with, but I was running out of square inches didn't want a teeny-tiny purse.
|
 |
| Bonus Tutorial! Click on image to enlarge.
Are you ready for your bonus tutorial? Well look at the pic above! Hello easy-peasy no-sew fingerless gloves! Wear 'em pulled up or scrunched down. Embellish 'em with buttons, fabric flowers, lace, ruffles. You get the idea! Have fun and be sure to tell me all about it. (side note: It is really hard to take decent pictures of your own arm!)
|
 |
The next step is to cut an opening into the sweater to create the handles. I used the lid to the oatmeal to trace a circle, but I think a half circle or oval would look great as well. I traced the circle, cut it out, and then traced the hole onto the other side of the sweater and cut it out as well. Next step is to trim off the neck. I trimmed it off in a gentle curve to create the top of my bag.
Now, if your sweater is a v-neck, you may run into trouble here. Be sure to cut your first hole below the "v" and line up the hole on the other side with it. If your v-neck is too low to make this work, you can always cut out a u-shape and sew together the tops of the "u" to create handles OR just round off the top and use something else for handles.
|
 |
| This step is optional, but I like the way it finishes and reinforces the handles. What you want to do is fold over the top edge of the handle towards the inside of the bag and stitch it in place. To ease the top edge around the curve, cut a few v-shaped notches into the top edge. I did 3 notches with a 1.5" gap. When I pinned the edge down, I scrunched together the notches. I sewed it down with a double row of straight stitches. You don't have to do the notches either. Instead, you could fold in a little pleat or two if your felt isn't too thick. Note: increase your stitch length when sewing through thick felt. |
 |
| Adding a magnetic clasp is optional as well, but here's how I did it: I cut two squares of grey vinyl (any stiff fabric will work) and attached the clasps (one male, one female) to them. Then I sewed the patches of vinyl to the insides of the bag. I had to do this twice because the first time I sewed them off-center. So be careful! The final step is to turn your bag inside out and pin and stitch the bottom edge closed. I sewed mine straight across, but I think rounded corners would look nice too. |


Now that the functional part of your purse is complete, it's time for you to decorate! I used my die cutter on the scraps of sweater left over to cut out several flowers. Then I used some leather studs to attach them to the purse. The options are endless. . . you can do whatever you want! Fabric yo-yos, buttons, zipper roses, felt flowers, lace, ruffles, etc. Felt is sometimes difficult to push a needle through, so locate a thimble if the hand sewing gets tough. Have fun and be sure to share your results with me! Email a pic to ricochethandbags@hotmail.com and I'll post it on my blog.
Happy crafting,

P.S. I'm co-hosting the Retro Pillow Challenge! Please click this button and check it out!

linking this post to these great parties: