Showing posts with label clutch. Show all posts

Monday, September 10, 2012

Asymmetrical Place-mat Purse

A.k.a. the wonky envelope purse.

This is quick and easy purse to sew.  If you have made lined purses before,(pulling the entire purse through an opening in the lining) then this purse will take no time at all to sew.  If you're totally unfamiliar with sewing linings into purses, check out this tutorial by  Patty at Make it Cozee.  She takes great photos (much better than mine!) and let's the pictures tell the story.  So all you visual learners will totally dig this tute.


Easy Instructions:
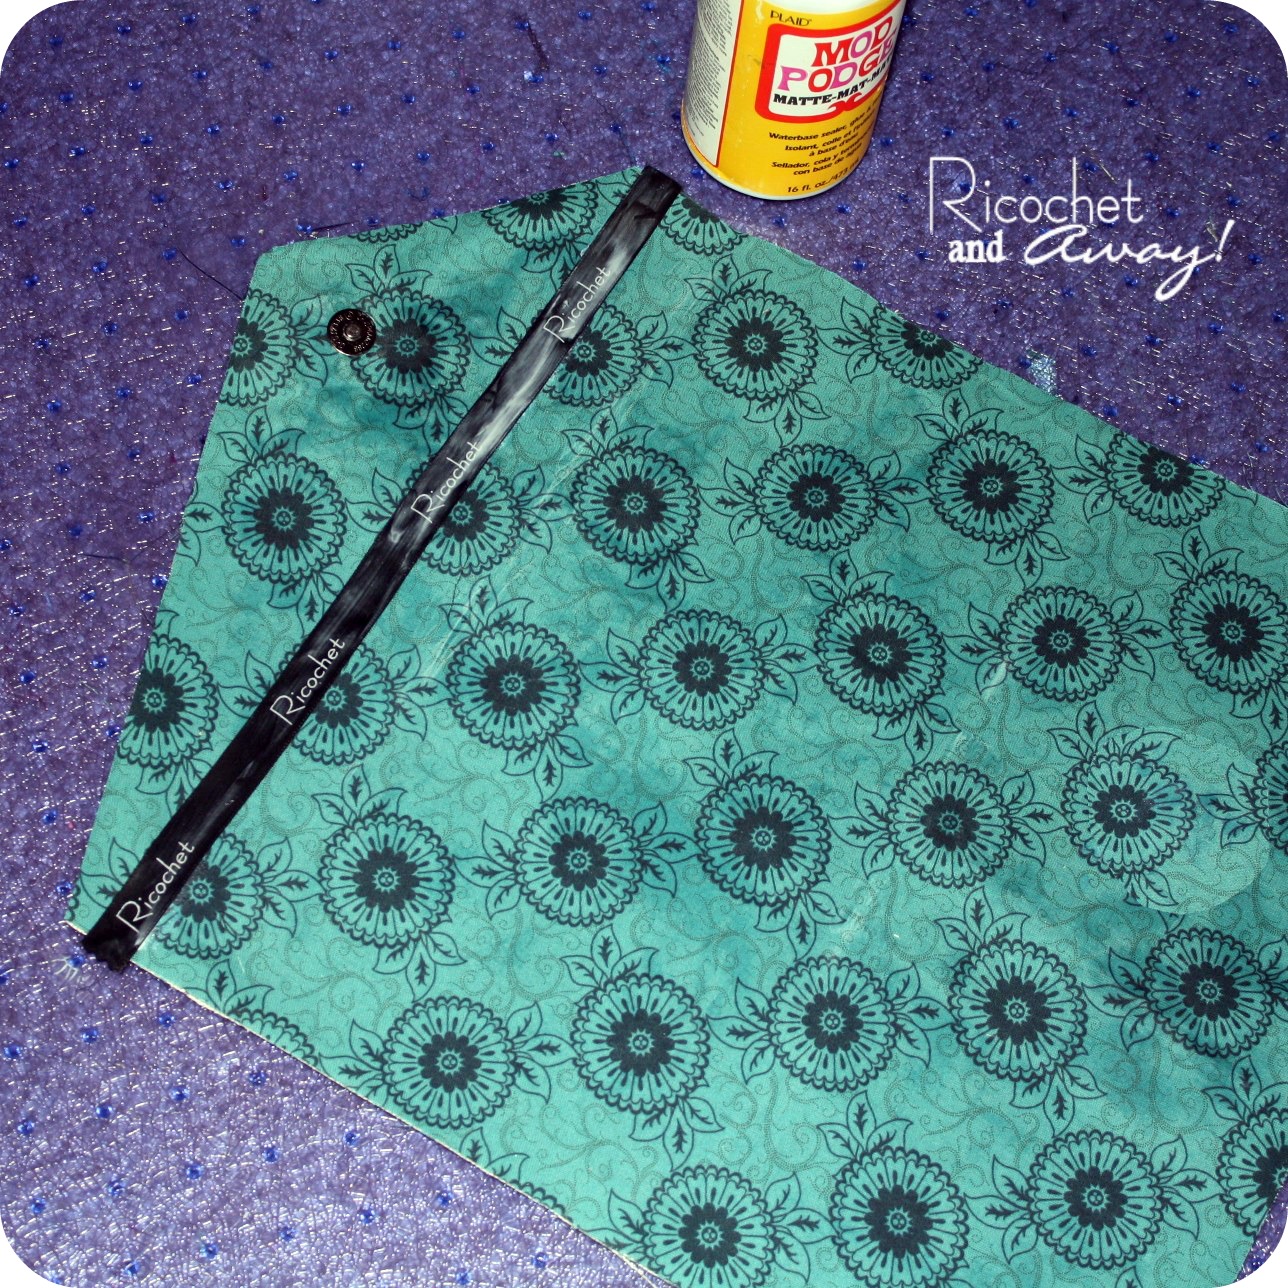
  1. Check out my diagram and see how I gave an ordinary placemat a wonky asymmetrical fold.  Just play around with it until you get a shape you like.  Press down the folds and trim off the overlapping edges.
  2. Use the resulting placemat shape to cut out your lining fabric.  Remember to make sure you are cutting out the correct side of the lining.  With asymmetrical shapes it can get tricky!
  3. Press corresponding folds into your lining.  Now you can add pockets and the male half of a magnetic snap to your lining. 
  4. Stitch the side edges of your purse, right sides together.  According to my diagram, stitch the red edges together and the blue edges together.  Do the same thing to the lining, right sides together.
  5. Turn you purse right side out and place it inside your lining, right sides together.  Carefully pin the edges of the purse and lining together.
  6. Stitch all the way around the pinned edges, but leave a 3 inch (or so) opening on the front edge (the edge under the flap). Trim off the seam allowances at the corners.  
  7. Pull the fabric through the opening and situate until it looks like a real purse.   Press all the edges neat and tidy.  (See Cozee's tutorial for great instruction and photos.)
  8. Mark on the front of the purse where the female half of the magnetic snap should be placed.  Reaching through the opening in the front edge, attach the snap to the front of the purse.  See?  No measuring!
  9. You can hand sew the opening closed now, though I usually don't.  Then top stitch all the way around all the edges.  That's it!  You're done!
You could add some dimension to the bag by squaring off the bottom at step 4. The tutorial I mentioned in teh first paragraph also shows how to square off the bottom of the bag.  Check out Patty's tutorial HERE.   Or you could make a strap or handle and add it to the outer fabric at step 4 as well.  Adding some extra structure with interfacing or fusible fleece or Peltex/Timetex is another option.  A simple purse like this is also just crying out for fabric flowers or silver studs don't you think?

Did you notice the cool pintucks/mexican pleating on the placemat?  This corresponds with my current sewing challenge:  The Fab Fold Challenge.  So if you're reading this before 10-30-12, press this button and check out the challenge homepage:
Fab Folds Sewing Challenge

So what do you think?  Could you use a little wonky envelope purse?  How would you tweak the idea and make it your own?

Happy crafting and big hugs from Montana,

Pin It

Thursday, March 22, 2012

Clutch Makeover DIY


So what do you think?  It's different, I know.  

The lace says flirty and feminine.  The ombre-esque paint job says fun and artsy.  The bold stripes say sporty and casual.  The white patent leather says classy and sophisticated.  What does it say to you?  


This clutch in particular is not for every woman.  I think it's a little "young" for me so I'm putting it in my sell or gift category of crafts.  The concept of this project is very adaptable to any look though.  Imagine a white lace on a brown bag for a western/rustic look.  Or if you've seen my Naughty Notions clutch, it is a bit more sexy and edgy.  You won't believe how simple it was to make!  A little paint, a little Mod Podge, a little trimming, a little patience, and done!

Supplies:
  • Purse.  Patent leather worked great for me, but you can Mod Podge virtually any smooth surface.  Take it easy on yourself and look for a purse with simple lines and lots of flat surface area.  
  • Acrylic paint.  I used Martha Stewart's Multi-Surface Satin Acrylic Craft Paint in Carrot and Pond.
  • Mod Podge.  I used matte finish.  
  • Paint brush.  I used the same 1cm wide flat brush for paint and Mod Podge.
  • Sponge.  I cut a strip off the sponge in my kitchen sink.
  • Lace.  I used some 4 inch wide flat lace.
  • Strips of fabric or ribbon.  I used some bright orange bias tape.
  • Scissors.  I used some itty-bitty sharp scissors I stole from my husband's dopp kit.  
Here's what I started with.  A classic white patent leather clutch.  I picked it up at the Salvation Army Thrift Store for a mere $.95.  It is 18 inches long with a metal frame.  The closure is brass.  The lining is a dark navy blue with a zippered pocket.

I prepped my purse for decoupaging by wiping it down with a damp cloth.  Then I removed any oils or residues with rubbing alcohol.

The lace I wanted to use was a pale blue.  It was pretty, but lacked the pow factor I was looking for.  I painted the lace with Pond on some freezer paper and hung it up to dry.

Next, I used my brush (not shown) and painted two coats of Carrot on the border of the lace.  Then I used my little sponge to feather some more color onto the edges.  

To add the lace I painted Mod Podge over the top of it to adhere it to the purse.  Being so porous, the Mod Podge soaked right through the lace.  I adjusted and straightened the lace to my satisfaction as it dried.  For the bias tape strips, I painted a layer on the back of them first and then stuck them onto the purse.  Then I painted another layer of Mod Podge on the top side.  I fiddled with them until they were as straight and evenly spaced I wanted them.  

I trimmed up the excess lace and bias tape with some tiny sharp scissors.   While the Mod Podge was still slightly wet, I trimmed the lace and bias tape and pressed them down along the edges.  That way all the edges fully and smoothly adhered to the curved surface of the purse.  If you're not careful and diligent during this step, you could end up with a rough edge that will snag and scratch things.

The last step is to let it dry completely.  And that was it.  Easy right?  The above photo is pretty large.  Click on it if you'd like to see the purse up close.  I'm thinking about painting just the handle blue or orange.  What do you think?  I can't decide.

Now imagine some silver lace on a black patent leather purse with some of the new glitter Mod Podge.....Yeah, that's what I'm cooking up next!  Stay tuned!

Special thanks to my 5 yr old daughter for taking my fashion shots!
You noticed the snow along the fence?  The photos were taken Wednesday, March 21.  Spring is a little frosty up here in Montana!
Happy crafting and big hugs from Montana,
Pin It

Wednesday, February 1, 2012

Naughty Notions: Finale and Voting


*update*
The winners have been announced!
Find out who won HERE!


Anyone can vote once per day throughout the month of February.  The 3 entries receiving the most votes will win a sweet blog button and well-deserved bragging rights.  
Please visit the blogs of the participants and show them love for all their hard work.  You will find a gallery of the finished bags and links to post and tutorials below the poll.


Your lovely hostesses:


sew la vie!
Keren


   and   
Rikka

Keren and I presented the challenge:
Create a clutch or small handbag using lots and lots of notions.  
We wanted you all to go crazy with the embellishment part and you did not disappoint.  Every entry is totally unique and over-flowing with creativity.  I know, I say this every challenge, but I really am so inspired and impressed by how differently each participant tackled the exact same problem.  Seriously, isn't it cool?
So, without further ado I am pleased to present the Naughty Notions Challenge entries.  They are in no particular order.  Please click the link in each caption to see more photos and read what the participants have to say about their entries.  Gorgeous, aren't they?


Find out more about 
Delilah's entry HERE.

Find out more about 
June's entry HERE.

Find out more about 
Caroline's entry HERE.
Find out more about 
Julie's entry HERE.
Find out more about 
Pam's entry HERE.
Find out more about 
Esther's entry HERE.
Find out more about 
Tanya's entry HERE.
Find out more about 
Kei's entry HERE.
Find out more about
Kristin's entry HERE.
Find out more about
Jill's entry HERE.
Find out more about
Cindy's entry HERE.
Find out more about
Lou's entry HERE.
Find out more about
Lakshmi's entry HERE.
Find out more about
Gia's entry HERE.
Find out more about
Jenni's entry HERE.
Keren's entry.


Find out more about 
Rikka's entry HERE.
xxxxxxxxxxx xxxxxxxxxxxxx xxxxxxxxxx

Tuesday, January 24, 2012

Naughty Notions Clutch is done!

This button will take you to
the challenge homepage here you can read the rules and meet the participants.

In case you're new to my blog, I've been co-hosting sewing challenges with my blogging friend Keren from sew la vie.  Our first challenge was the Retro Pillow Challenge, then we did the Solids-Only Tote Challenge, and our current challenge is called Naughty Notions.  The guidelines for this challenge are simple, create a clutch or small purse showcasing sewing notions as your embellishments.
Are you curious about how I made this clutch?  I hope so because I made a little tutorial just for you:


My supplies:
Vinyl, wide lace
assorted buttons
leather studs
craft wire, bias tape
lining fabric, zipper
magnetic snap
Mod Podge, velvet ribbon

My tools:
ruler, paper clips
rotary cutter
scissors
paint brush
sewing machine
needle nose pliers
big needle

  • The first thing I did was cut a perfect rectangle from vinyl.  Then, I took some wide black lace and tacked it on to the right side of the vinyl with a stripe of Mod Podge.  I started with a thin line of 'podge so I could tweak the positioning of my lace until I was sure it was exactly where I wanted it.  
  • Next, I saturated the lace with 'podge, avoiding the vinyl, and allowed it to dry.  
  • Last, after the 'podge was completely dry, I stitched down the edges of the lace.  
  • I trimmed two corners off to form the edge of the flap.  
  • I needed to know where the folds would take place so I made some creases with paper clips because you can't iron vinyl.  That gave me some guidelines so I could plan my embellishments and where my magnetic clasp would go.
  • I started with attaching a row of buttons to the  space between the laces.  I used my big needle to pierce holes in the vinyl and a fine gauged craft wire to secure the buttons.  I found the wire to be much easier than thread for this project.  I had some petal/leaf-shaped pieces of black suede left over from a previous project, and I attached them to the vinyl with round leather studs.  
  • I don't have an in-process photo of it, but I added the female side of my magnetic clasp to the vinyl.  I also ended up putting an additional stud in between each of the buttons.  Ouch!  My fingers were so sore!
I found this pretty turquoise cotton to use for the lining.  I cut it to size and added the male side of the magnetic clasp.  Just like I did in my envelope wristlet tutorial, I got out the Mod Podge and adhered the lining directly to the the wrong side of the vinyl.  As you can imagine, the reverse side of the vinyl was very bumpy and pokey with all the leather studs and twisted wire.  The decoupaging secured and contained all the sharp metal, but the finished surface is far from smooth.  Next time I try this, I'm going to attempt to quilt my lining fabric to a thinner piece of peltx or timtex and nix the Mod Podge.  
  • While the 'podge was drying, I made a zippered pouch for the interior of my clutch.  I sewed together two lengths of lace as well.
  • The lace was sewn onto the back of the zippered pouch to form a mesh-like pocket.
  • The pouch and lace pocket were pretty long, so I sewed up the center to create some side-by-side pocket action.
  • I clipped the zippered pouch to the sides of the vinyl because you can't pin vinyl.
  • I stitched the pouch and trimmed it even even with the vinyl.
  • I finished all the edges with a black double folded bias tape.
  • Normally I would just stitch up the sides and call it done, but that wasn't going to work with this clutch.  The sweet side-by-side pocket action would have been too cramped to utilize properly.  I needed to add some depth to the clutch for the pockets to be fully appreciated.  And so entered the wide velvet ribbon.
  • I stitched in a length of ribbon on each side of the clutch to open up the interior.  
  • Then, I was d.o.n.e!!!!!!


The resulting clutch is a mixture of sexy, edgy, and pretty.  I love it!  

I hope you'll visit the challenge homepage and spend some time getting to know the participants.  We have a big group of very crafty and creative people who I'm sure are going to blow us all away with their cool clutches.  Thanks for all your comments!  Double thanks for becoming a follower!

Happy crafting and big hugs from Montana,
Linking up here:
http://pinkapotamus.blogspot.com/2012/01/pink-hippo-party-64.html
http://www.creationsbykara.com/2012/01/look-what-i-made-link-party-1-25-2011.html
http://somedaycrafts.blogspot.com/2012/01/whatever-goes-wednesday-101.html
http://733blog.blogspot.com/2012/01/sugar-spice-95.html
http://mygirlishwhims.blogspot.com/2012/01/your-whims-wednesday-43-and-features.html
http://www.gingersnapcrafts.com/2012/01/wow-me-wednesday-35.html
http://www.thestuffofsuccess.com/2012/01/success-u-wednesday-linkup-party-22.html
http://carolynshomework.blogspot.com/2012/01/inspiration-board-link-party-34.html
http://funkypolkadotgiraffe.blogspot.com/2012/01/too-cute-tuesday-linky-par-tay-67.html
http://www.vwbblog.com/2012/01/talent-tuesday-way-cool-linky-party_23.html
http://momommamoney.blogspot.com/2012/01/momomma-monday-link-up.html
http://mommybydaycrafterbynight.blogspot.com/2012/01/ta-da-tuesday-link-party-22.html
http://www.thekurtzcorner.com/2012/01/tuesday-tutorials-link-party-no-21.html
http://linda-coastalcharm.blogspot.com/2012/01/nifty-thrifty-tuesday-no98.html
http://singingthreelittlebirds.blogspot.com/2012/01/inspire-me-monday-good-morning_23.html

Related Posts Plugin for WordPress, Blogger...